SnipDone / How-to guide
Choose a file format for your Mac screenshot
Choose the format for the destination, then check the exported file.
· SnipDone
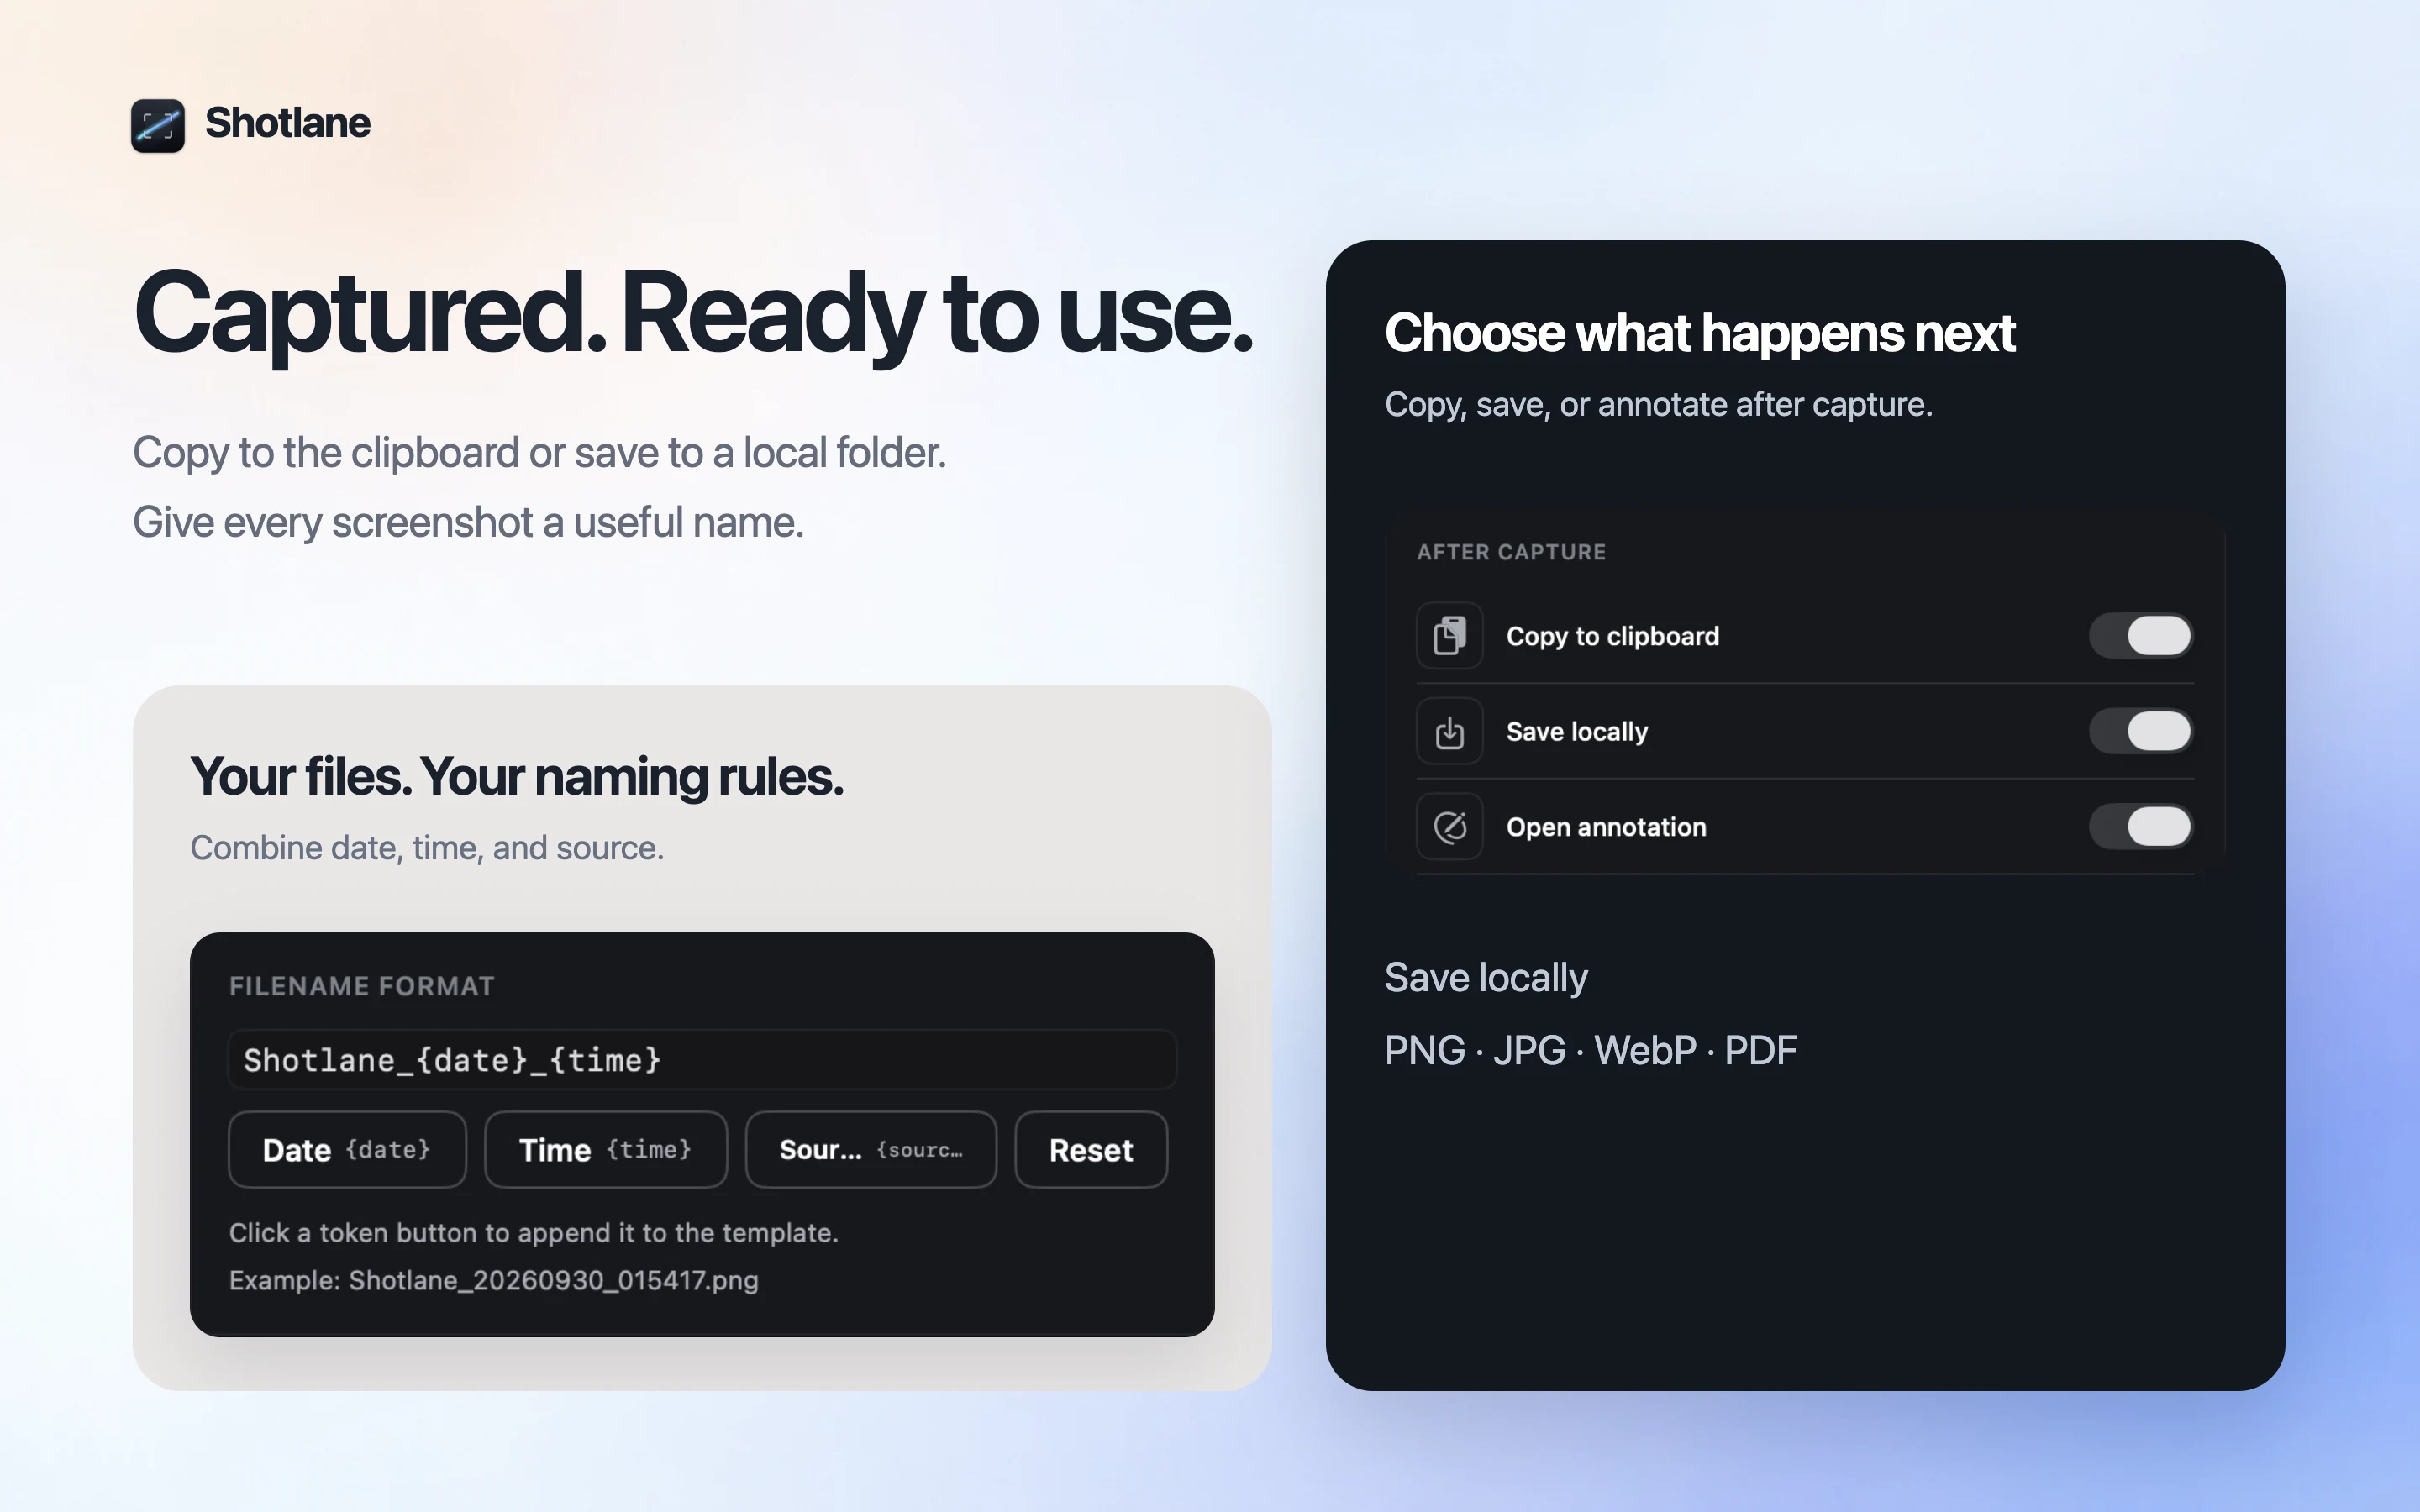
The right screenshot format depends on where the picture will go. SnipDone exports PNG, JPG, WebP and PDF, so you can choose a file that fits the receiving app instead of converting it later.
PNG for interface text and diagrams
PNG uses lossless compression and is a practical first choice for UI screenshots, sharp letters and flat-color diagrams. A long screenshot can still produce a large file; crop unnecessary content when possible.
JPG for photographic content
JPG uses lossy compression. It can be useful for image-heavy captures, but compression may soften small text and introduce marks around edges. Open the export at its actual size before sending it.
WebP for web images
WebP is useful for publishing screenshots on websites. Confirm that the destination accepts it before choosing it for a message or document; support differs between applications.
PDF for document workflows
PDF can fit a document-sharing workflow. Exporting a screenshot as PDF does not turn its words into editable text. If you need to copy the words, use OCR and check the result separately.
Name and save the result
- Choose the export format in SnipDone’s export settings.
- Select a local save folder and a filename template.
- Export one image, open it in the receiving app and check the lettering and layout.
- For sensitive material, inspect the saved file after annotation or mosaic before sharing.
For a full-page capture, start with the manual scrolling guide. If you only need an on-screen reference, pin the screenshot without preparing a delivery file.